Card Tables
Jump ahead to:
Meet Basecamp's take on Kanban! The Card Table is a great place for inquiries to a particular team. It's designed to manage reactive work like software bugs or design requests, but it can be used whenever you need a more visual method for organizing your team's workflow:

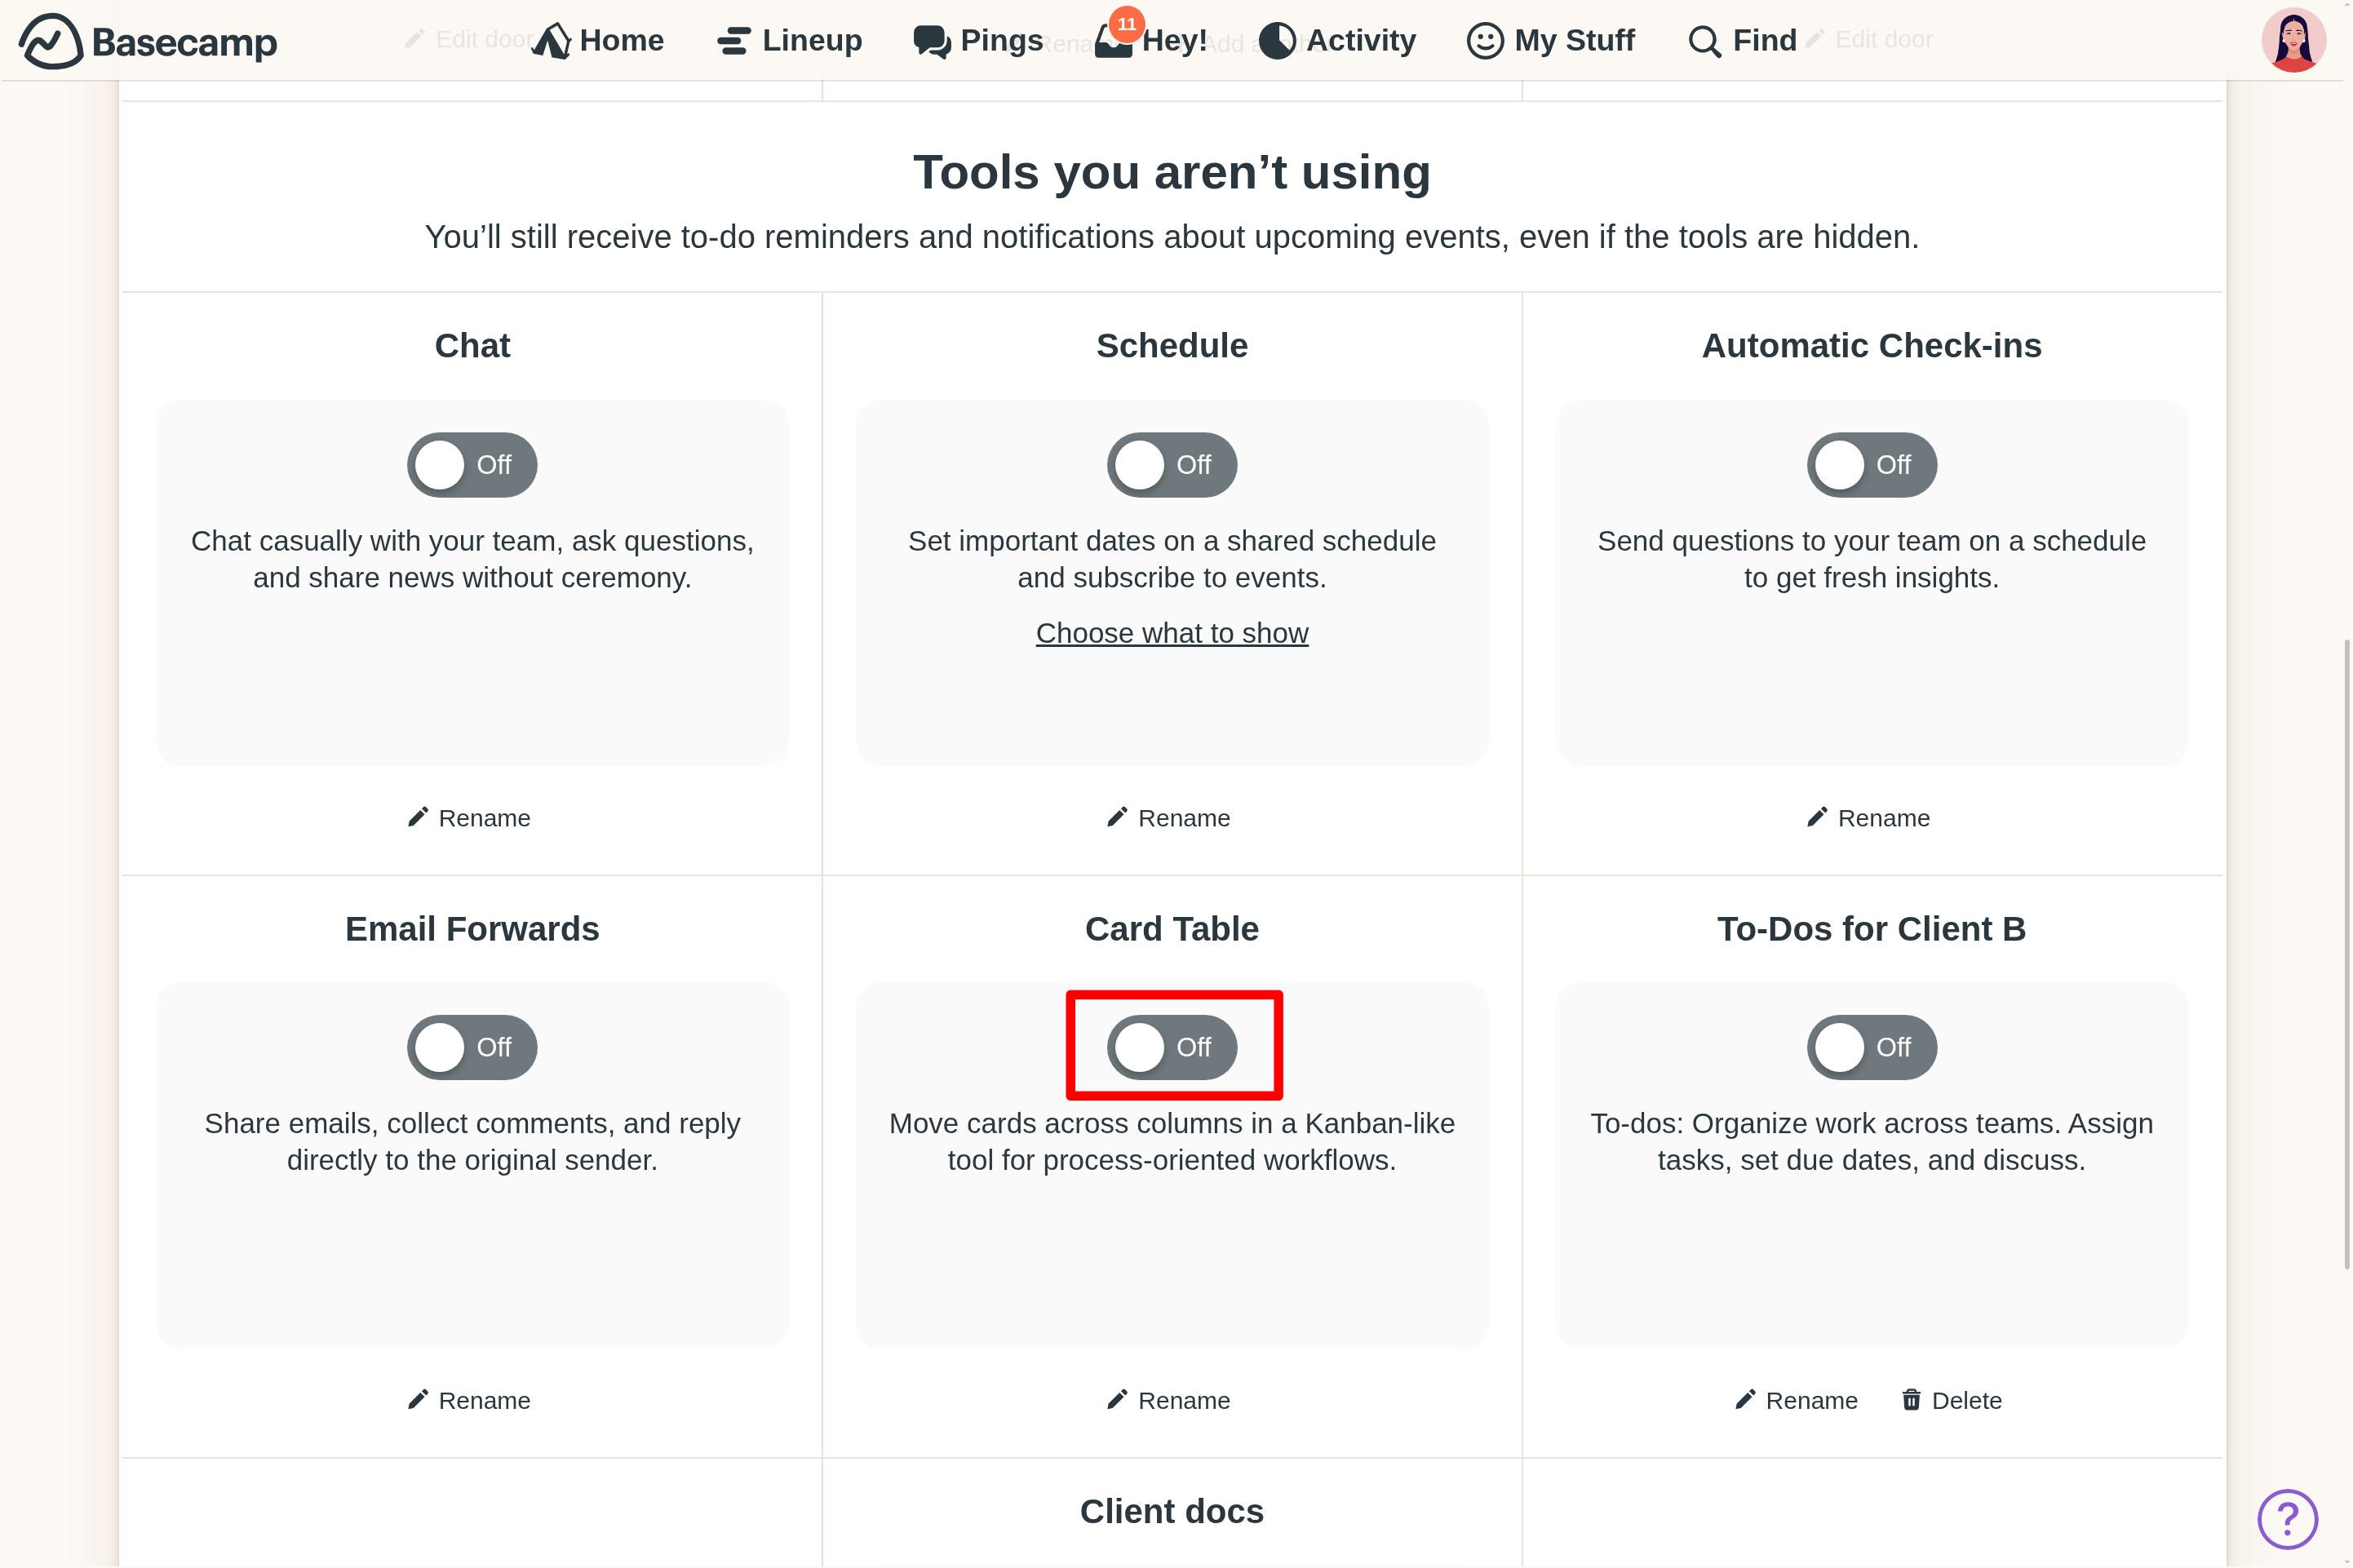
By default, Card Tables are off in new projects. To enable them, go to the ••• menu at the top right of the project home page, then Set up Tools. You can enable the Card Table tool there:
Working with Cards
Add a new Card
When you've got some work to track on the Card Table, just click "+ Add a card" to add it to Triage. Enter a title for the Card, assign it to a specific person on the Project, add a due date and write a description:

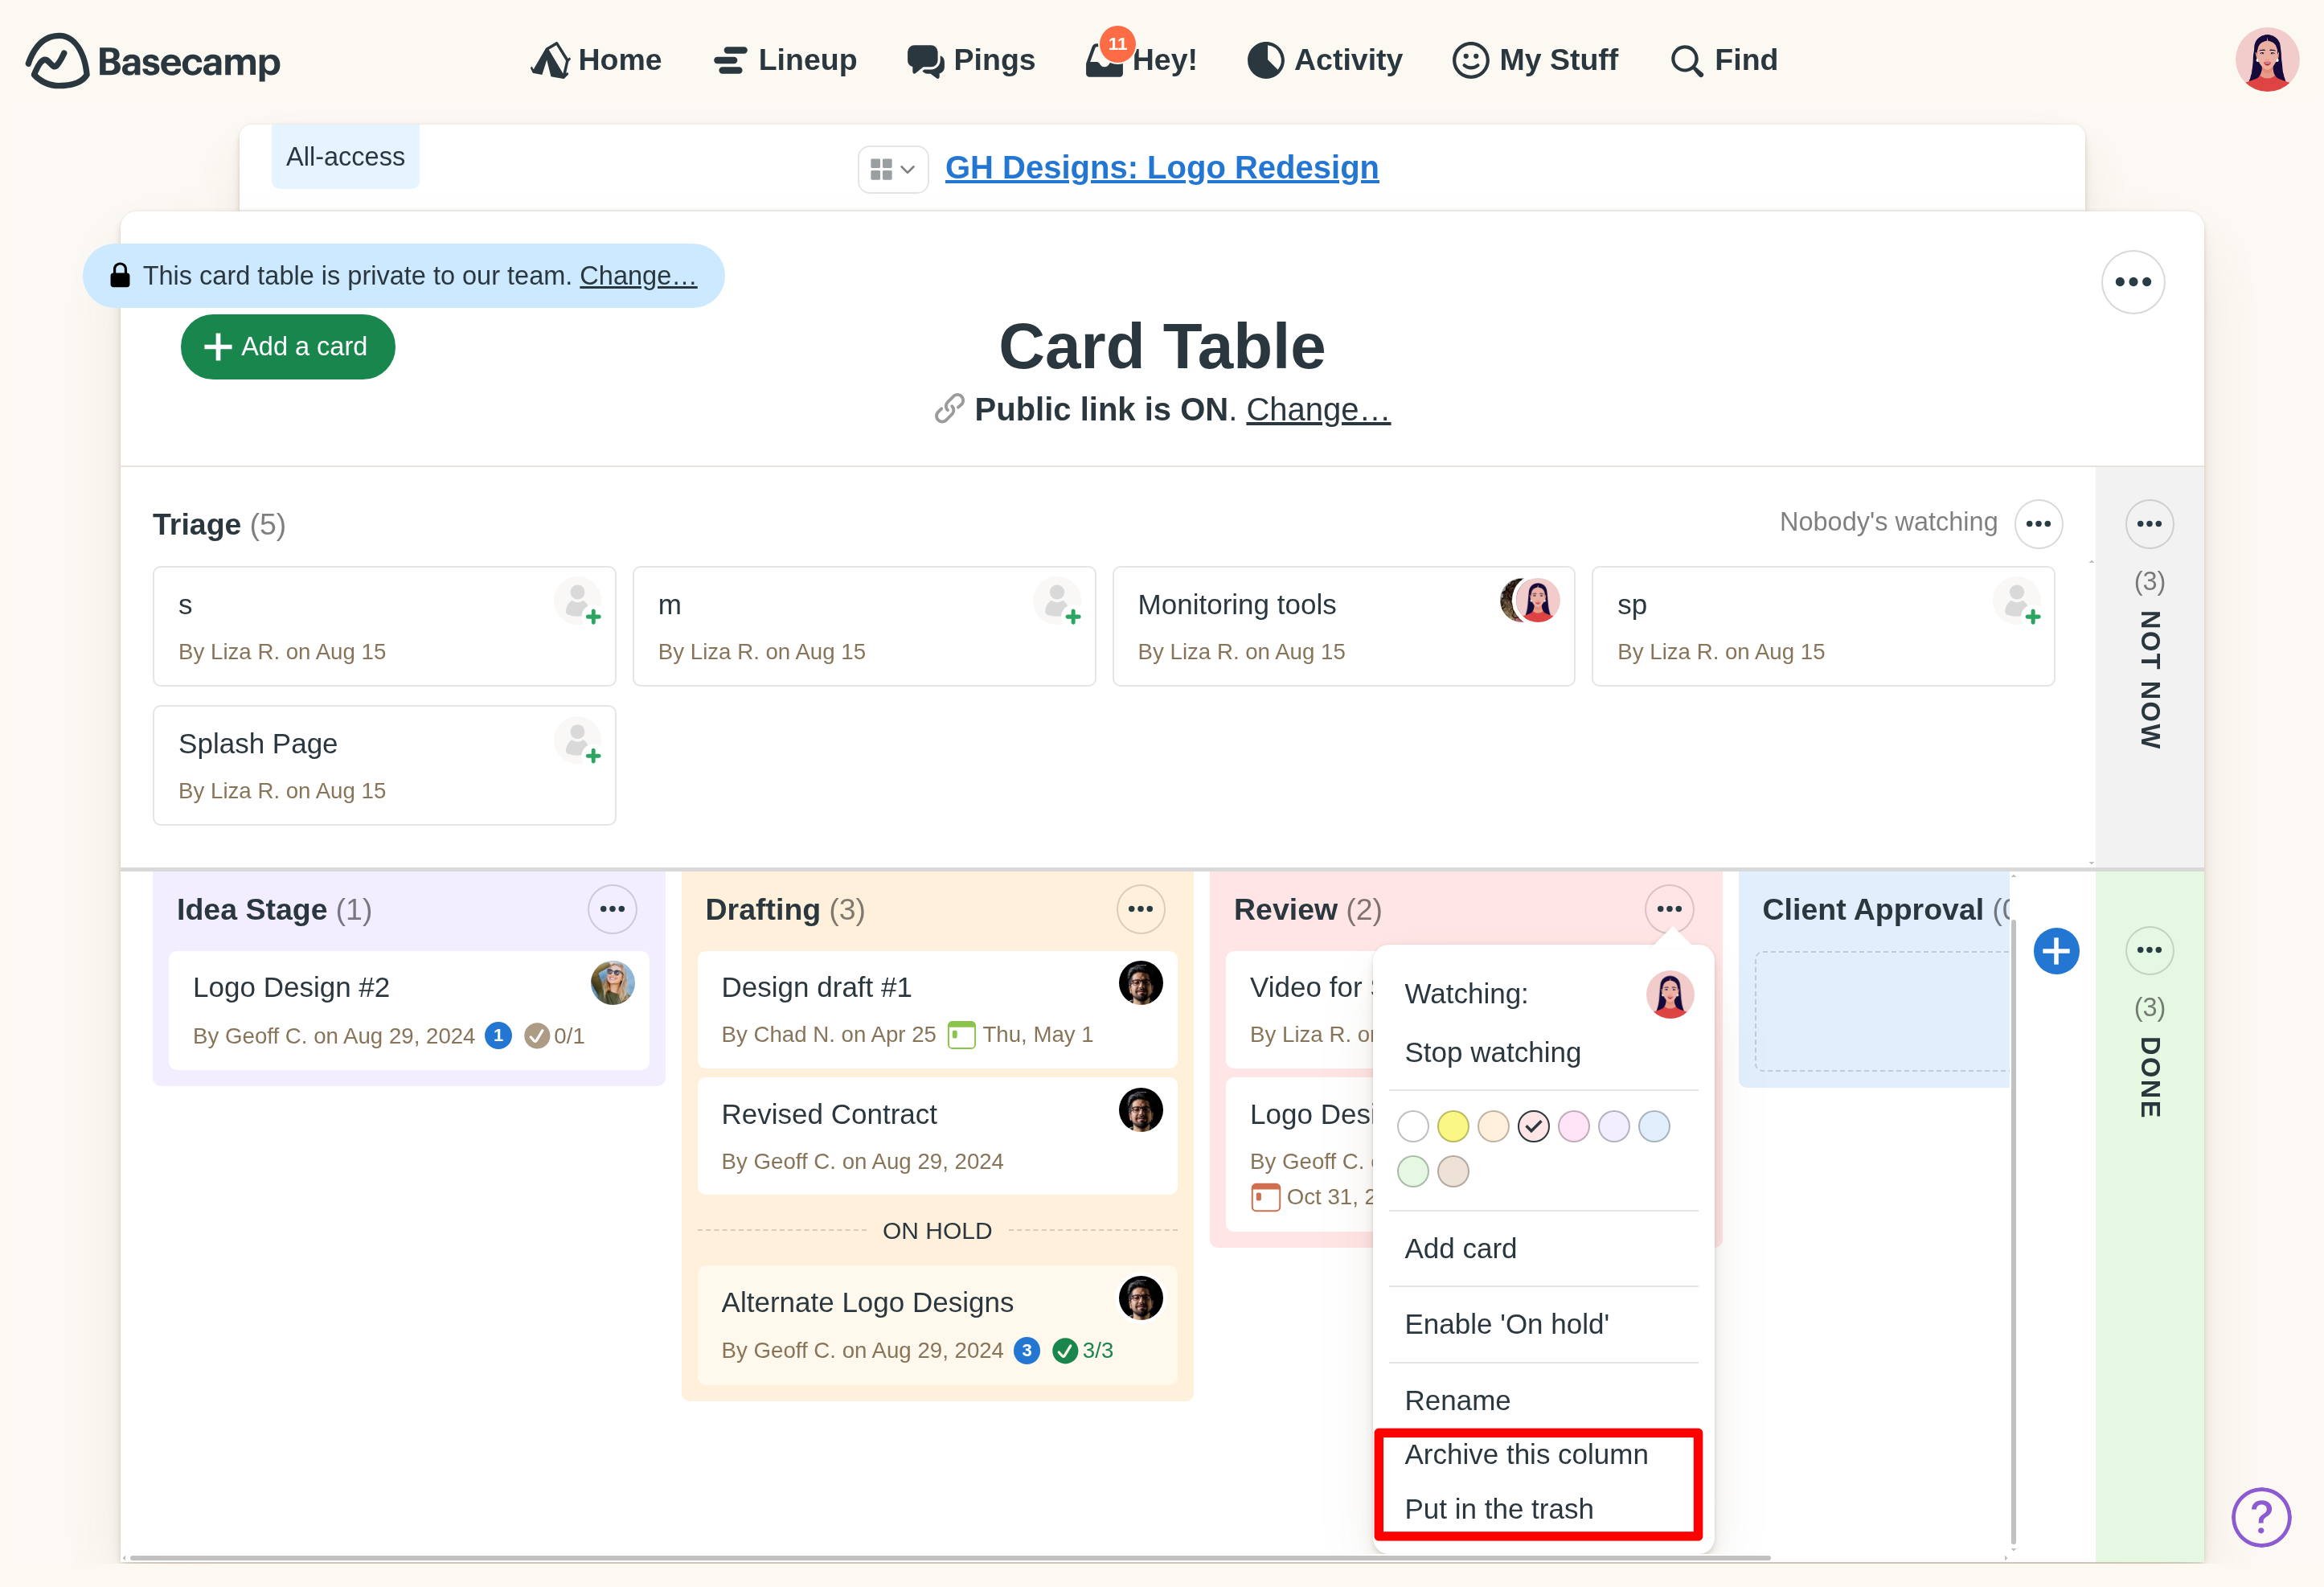
You can also add a new card directly to a specific column by using the ••• button to open the options menu and click "Add card":

NOTE: Assigned Cards will appear on a person's Assignments page. Dated Cards will appear on a Schedule with enabled assignments, and send Due Soon notifications.
Steps for Cards
To break down a Card into manageable tasks, simply open an existing Card and add steps to it. The addition of steps provides a more detailed view of the work involved, making it easier for others to track progress:

Each step can be assigned, and a due date can be set. Upon completion, the step remains visible and its status is not linked to the overall status of a Card - you don't need to complete all of the steps before you move the Card to "Done":

Reordering steps is also breeze - simply drag and drop them to a desired location.
NOTE: Card subscribers will be notified when a step is added or completed. People assigned to a step will also get a Hey! menu notification.
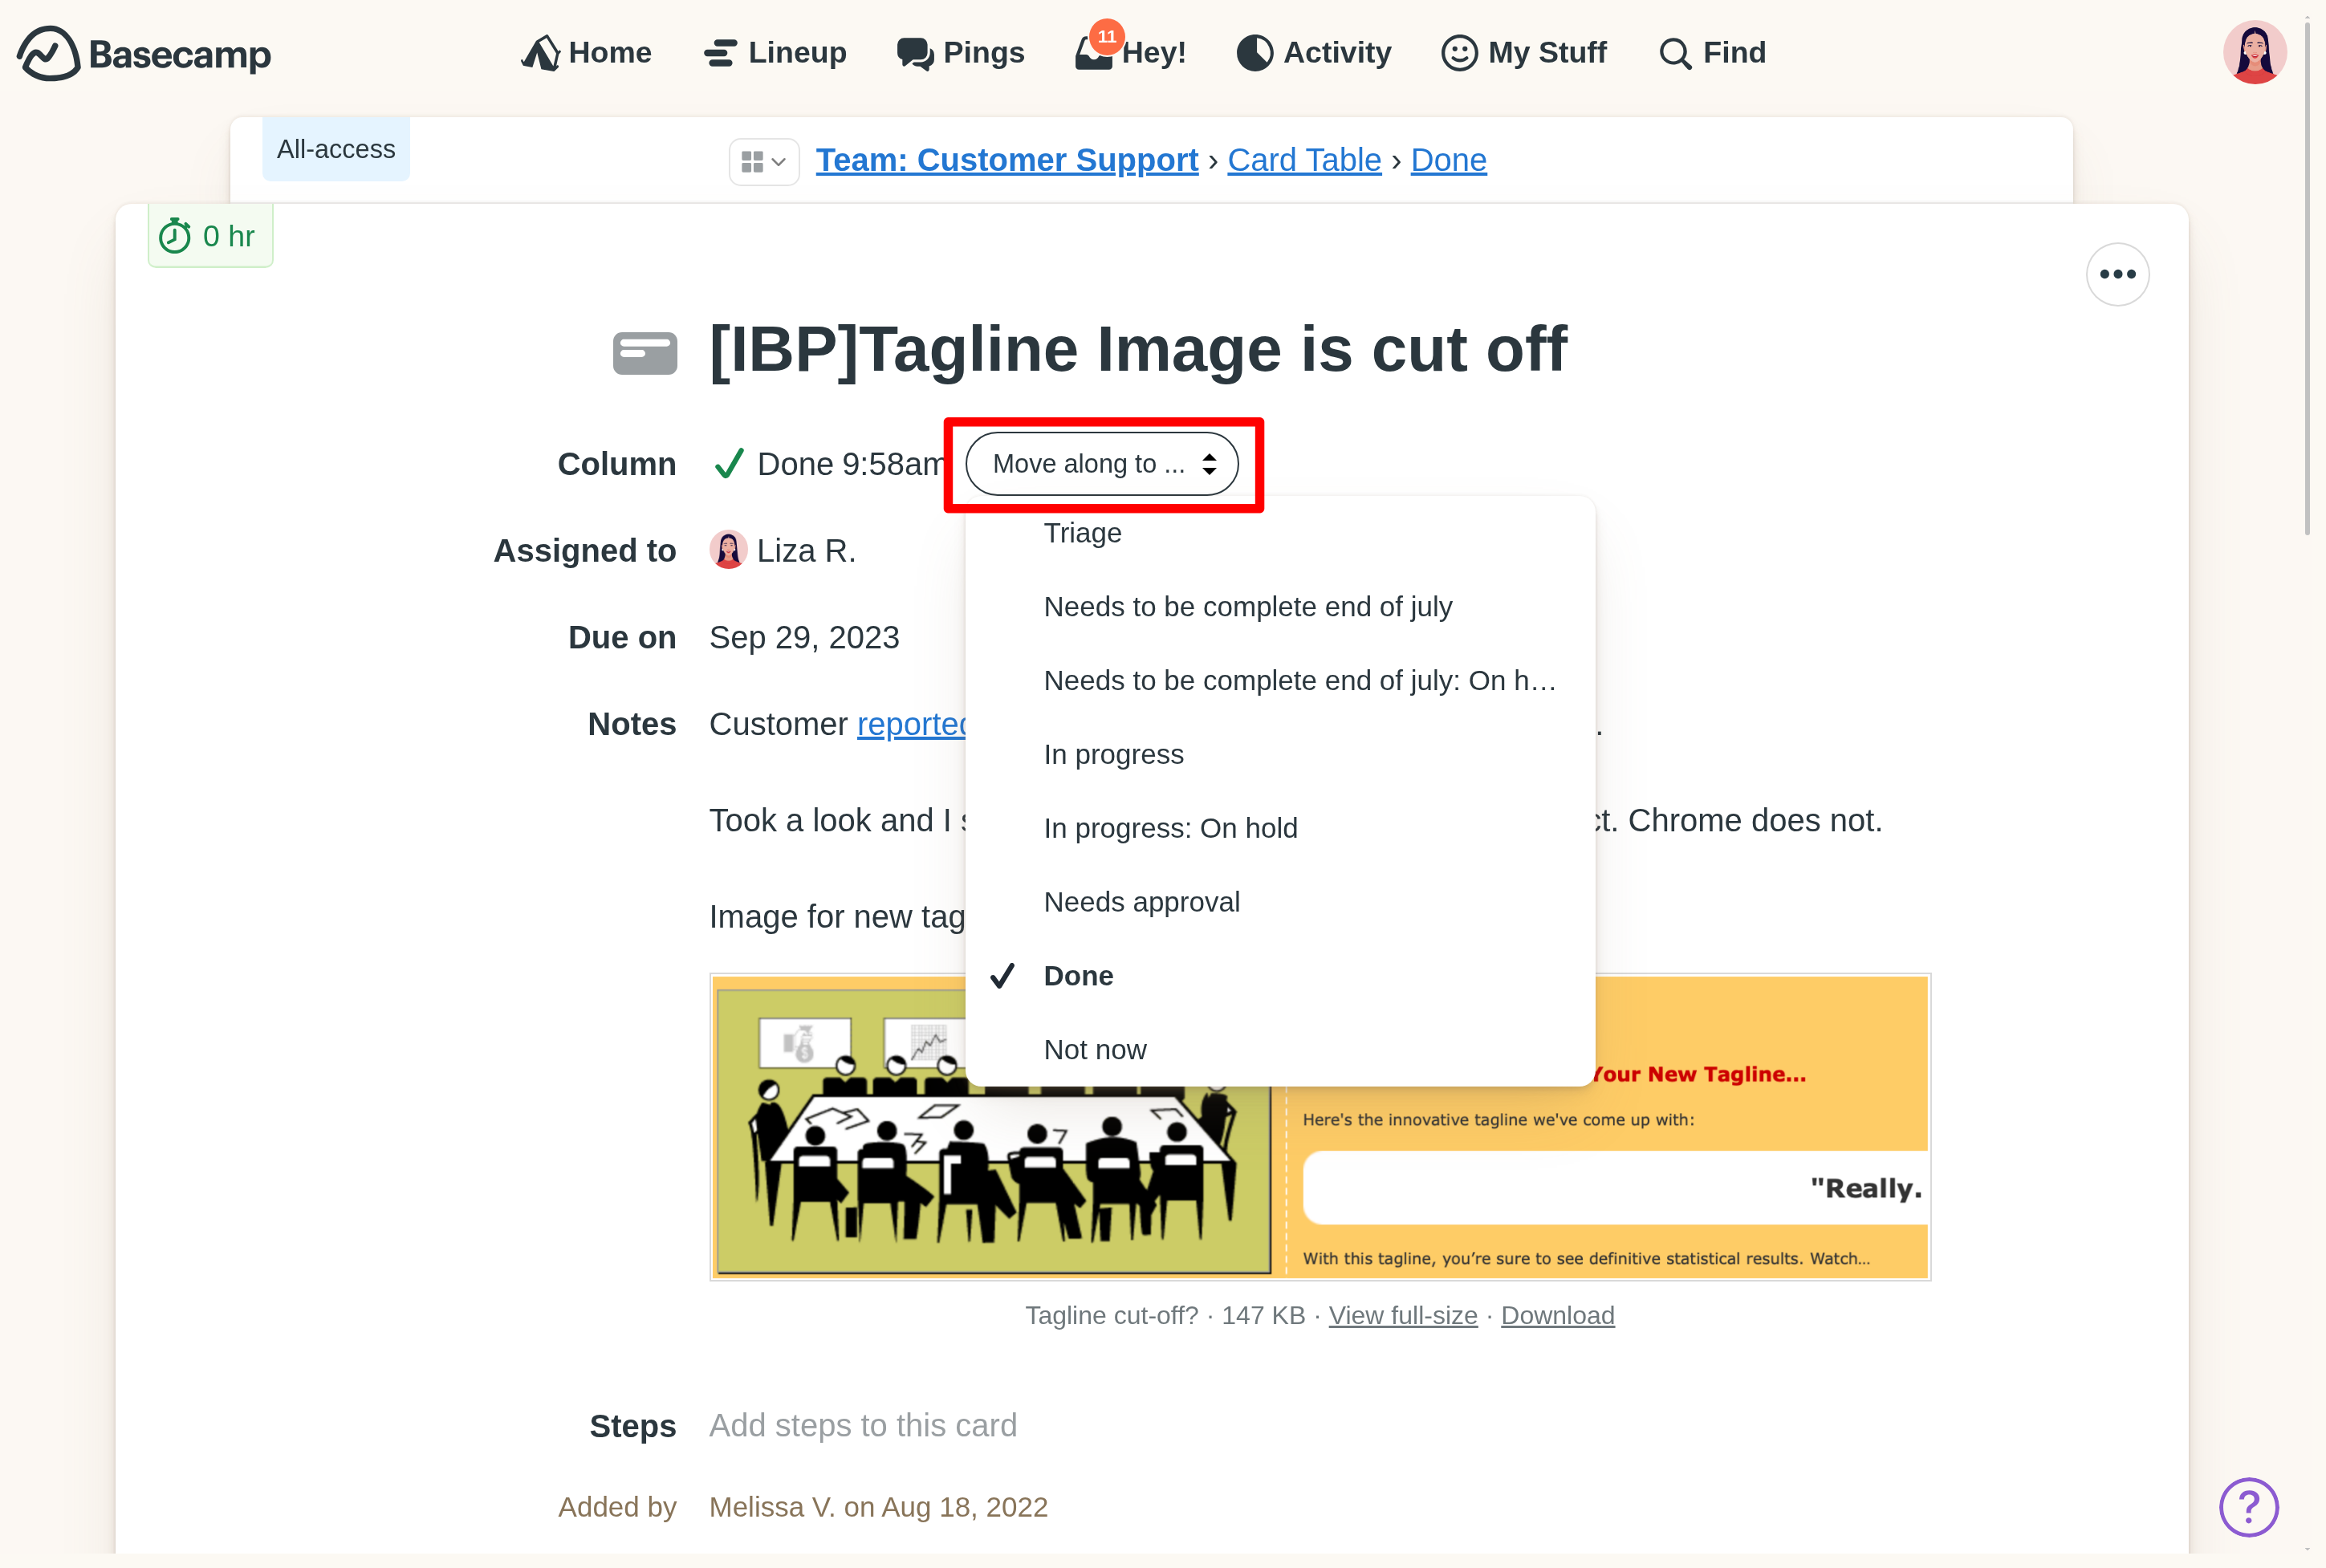
Move a Card
There are two ways to move a card to a new column. You can click and drag the Card to the new column from the Card Table screen:

You can also move a Card from the card page:
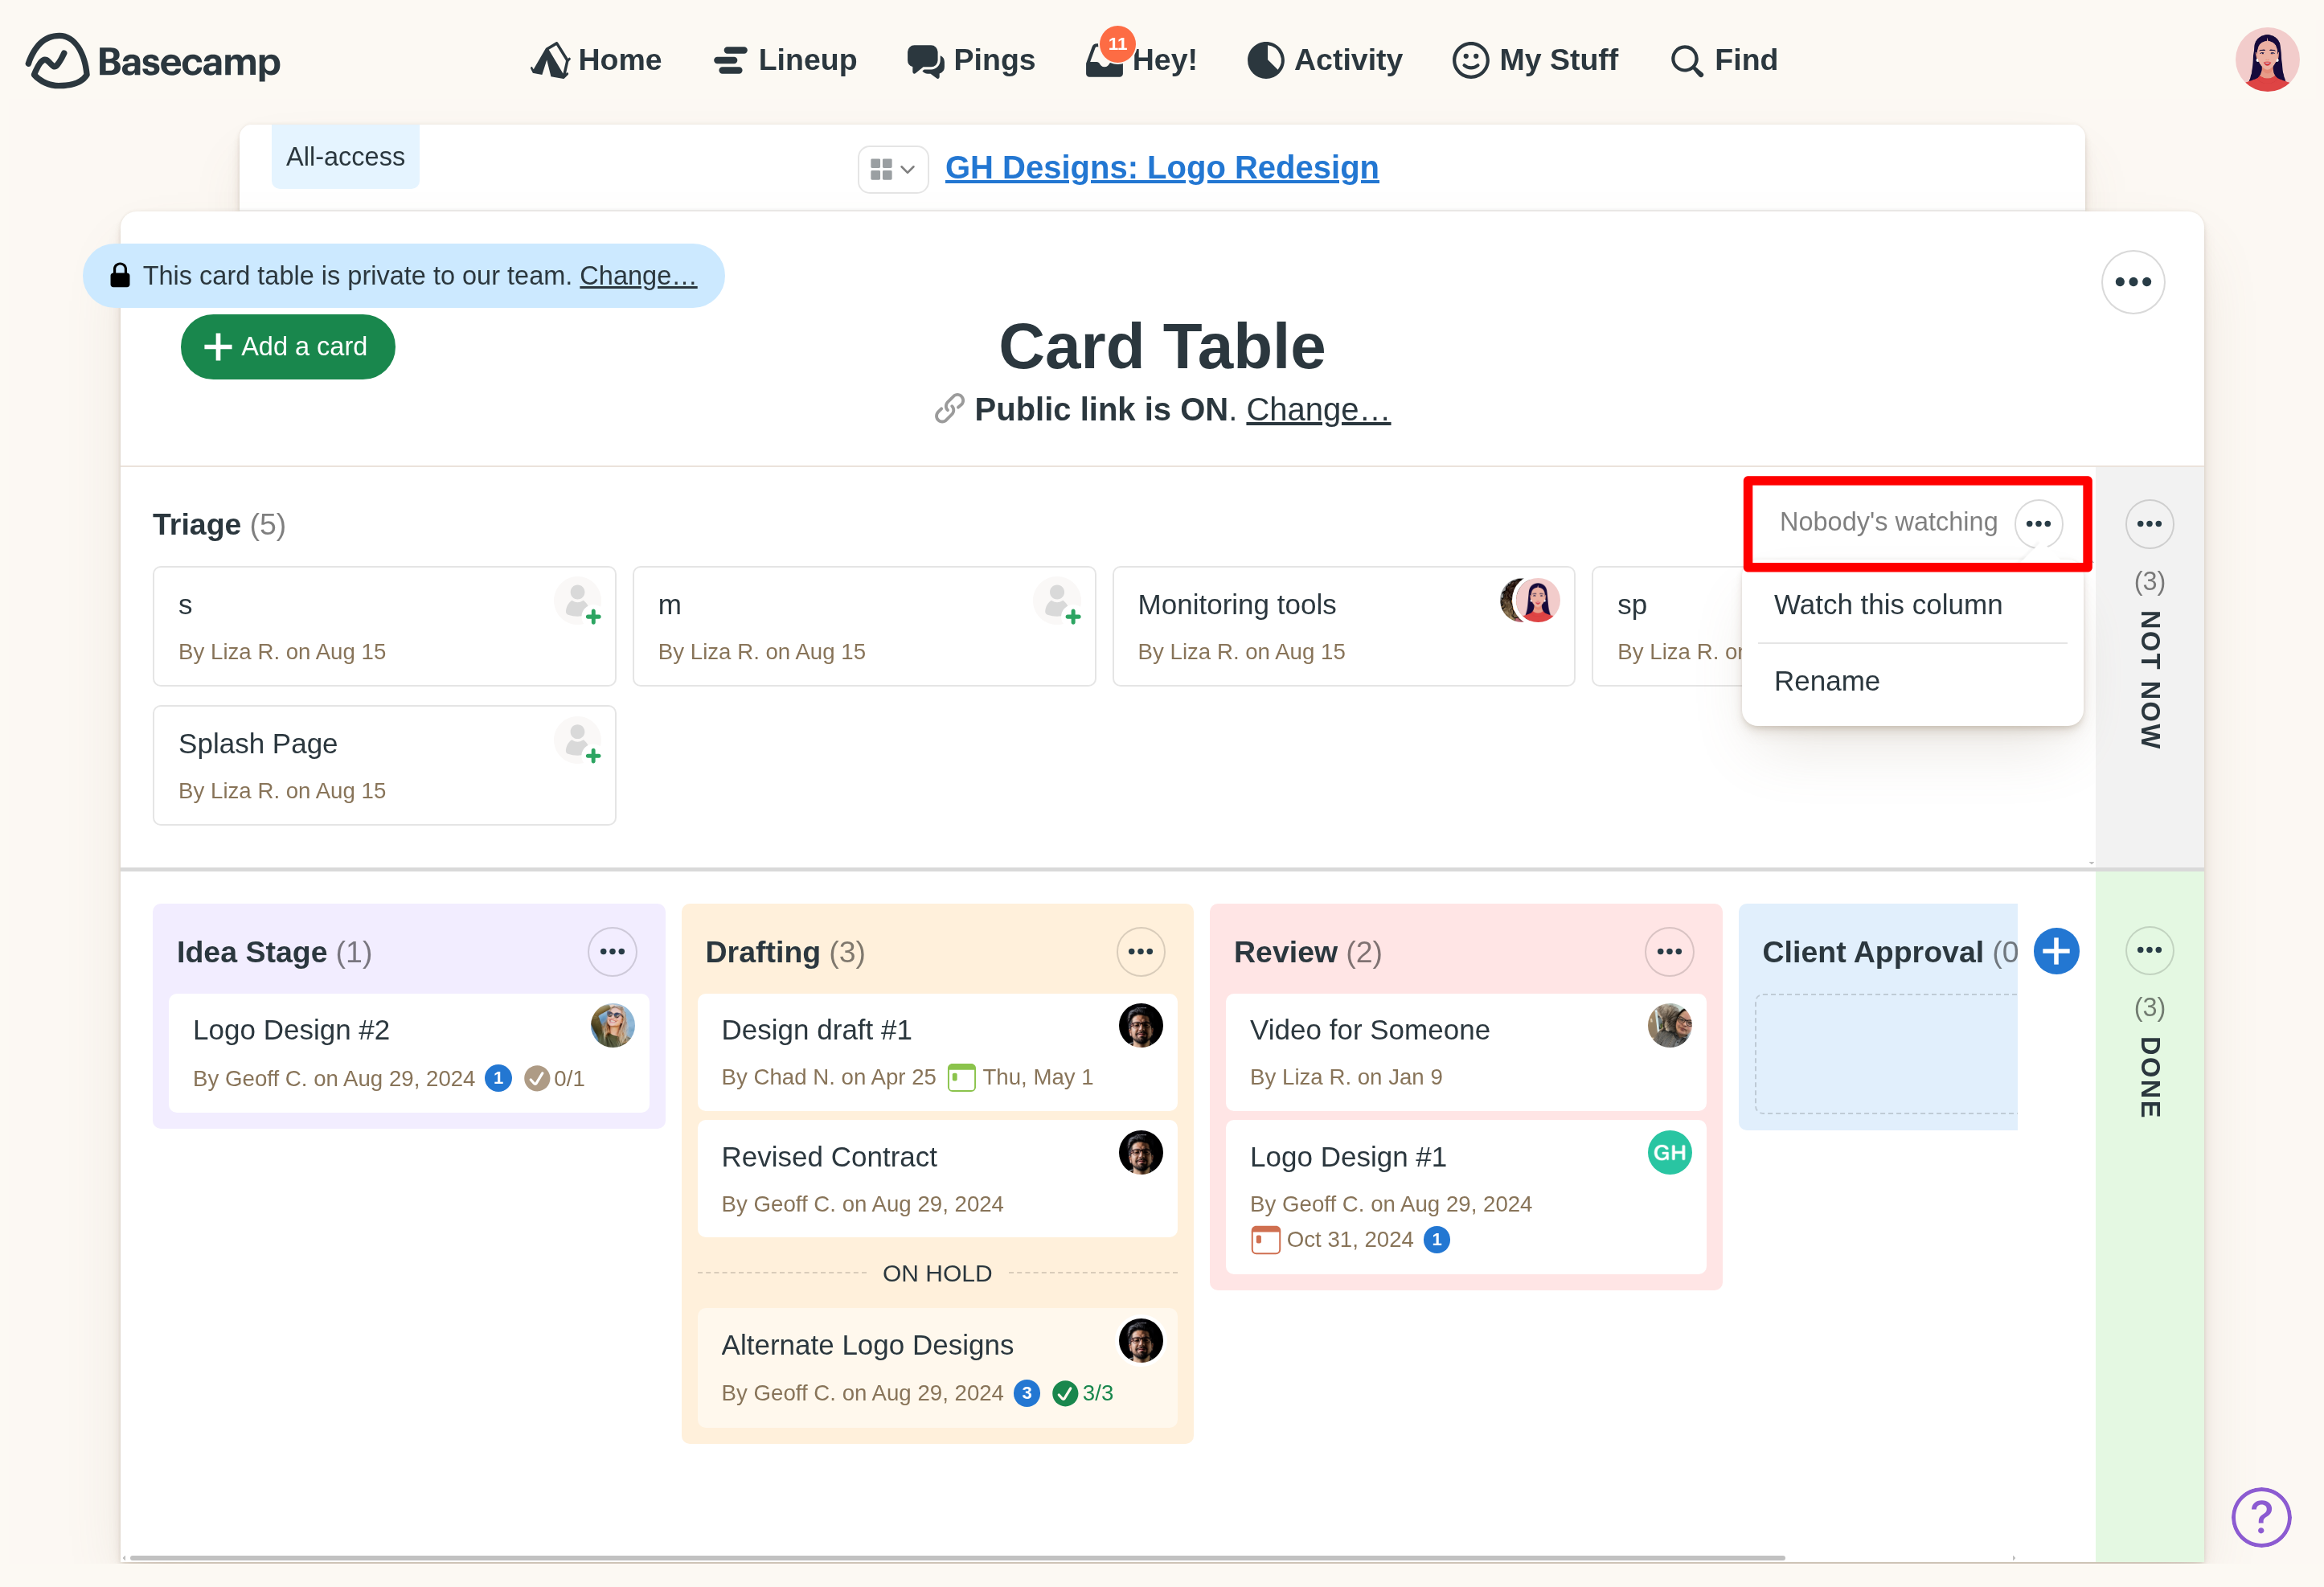
Watch a Column
Need to know what your team is working and when they add a new card? Just click the ••• menu in a Column and click 'Watch this column' to receive a Hey! menu notification when a new card is added to that Column:

Organizing Columns
New Card Tables start with four columns: Triage, Figuring it Out, In Progress and Done. If those don't fit your purpose or work, you can add, rename, delete and archive Columns.
Add a new Column
To add a new Column to your Card Table, just click the '+' to the right of the Columns:

Rename a Column
To rename a column, click the ••• at the top right of the column to open the options menu, then select 'Rename':
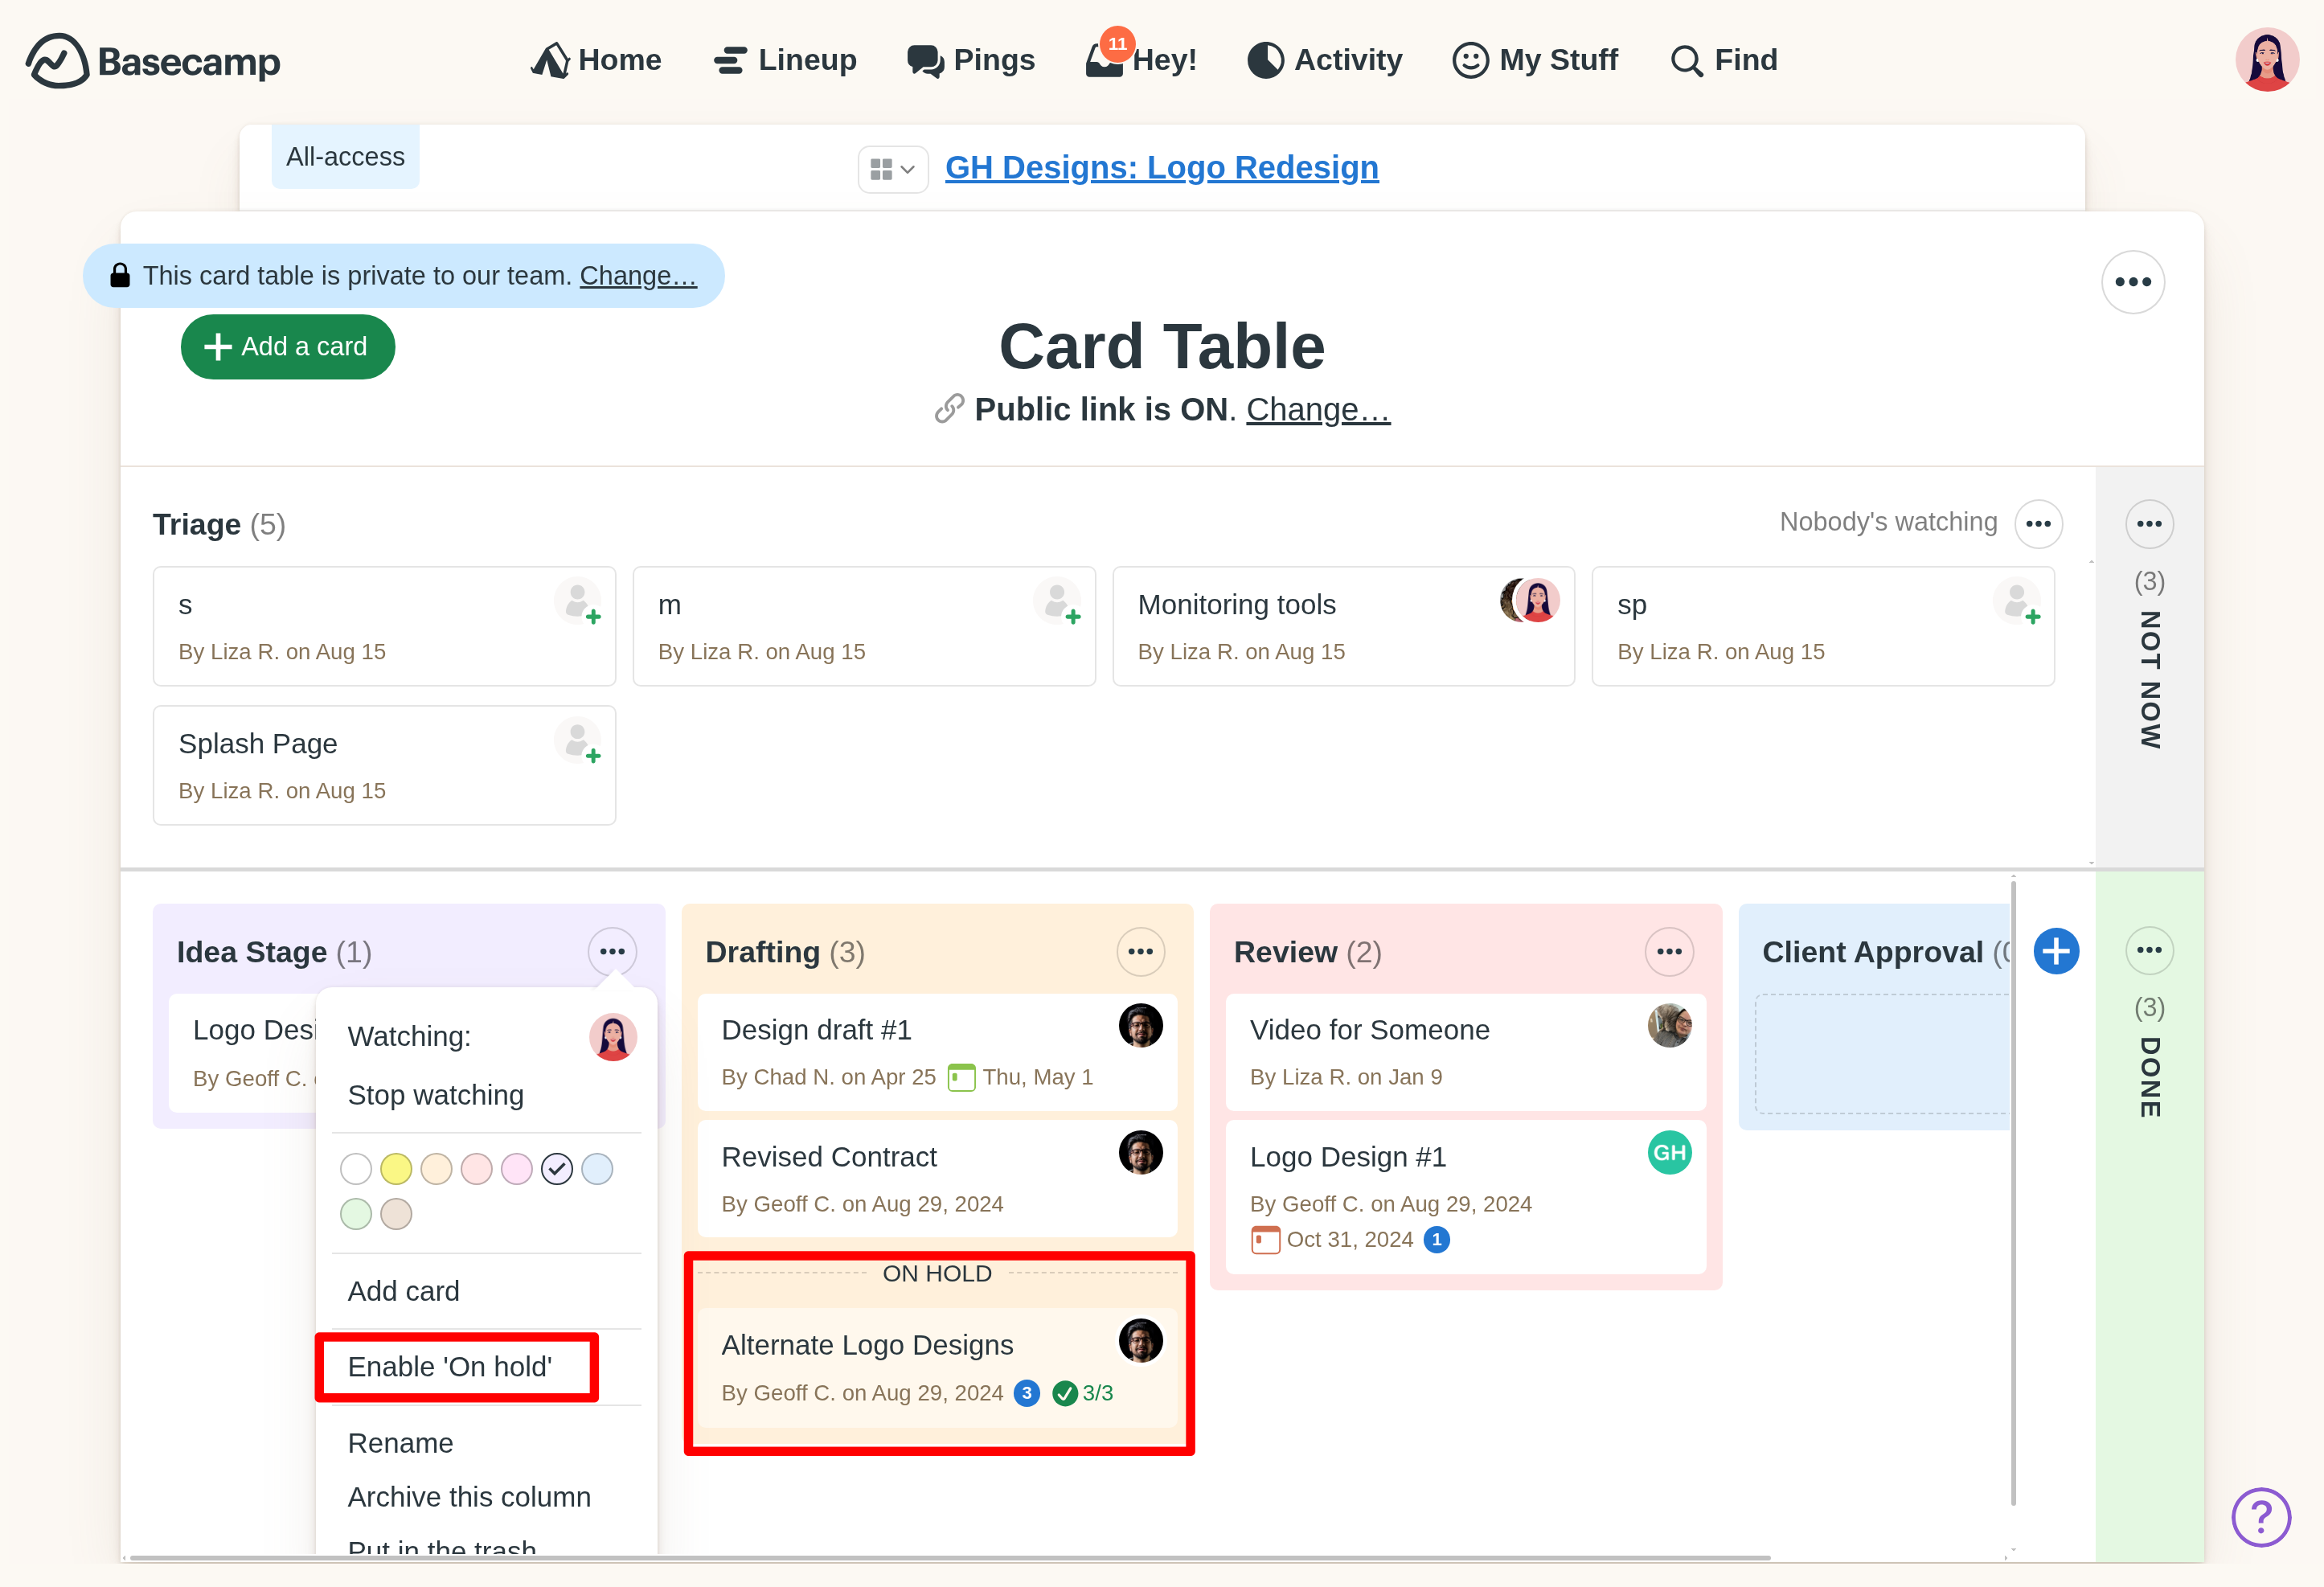
On Hold
Sometimes you can't take action on a Card at the moment, but it needs to stay in the Column. You can put it On Hold in its column so everyone can see at a glance what's actively being worked on.
To enable the On Hold area of a column, just click the ••• button at the top right of the column.
Archive or Trash a Column
If you no longer need a Column, just click the ••• button at the top right of the column to Archive or Trash it.
Next up: Hill Charts →
Jump to: